This is the last part in a 3-Part series on proactively handling errors in your application. In this part, we will use the sentry-webpack-plugin to upload source-maps to Sentry.
In Part-2, we had used Github Actions to create our CD pipeline to upload source-maps. There are many different CD tools out there. You could already be using any of those that might need a different configuration. Using the sentry-webpack-plugin, you can upload the source-maps to Sentry. All you need to do is add and configure it using webpack.
You can find the earlier parts below:
Create sentry auth token
The authentication token is used for all communication with Sentry.
Step 1
Navigate to Sentry → User → API Keys
Click on Create New Token
Select project:write under Scopes.
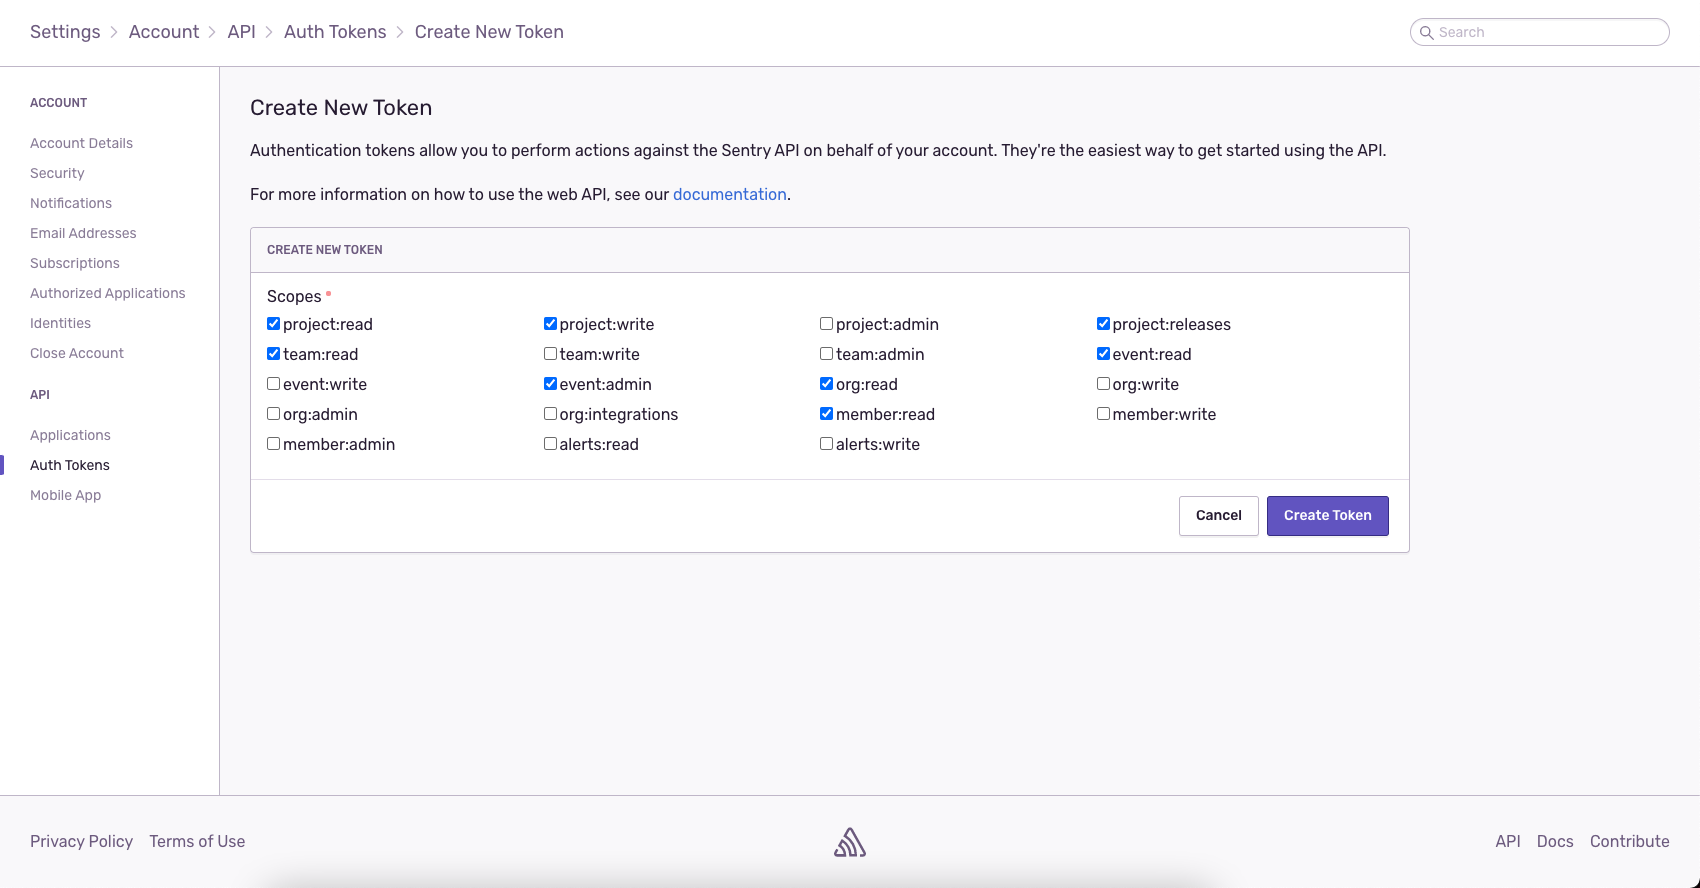
Finally, click on Create Token
Step 2
Copy the token generated and add it to .env.development and in the .env file
Similarly, add SENTRY_ORG and SENTRY_PROJECT to the .env.development and in the .env file
Integrate sentry-webpack-plugin into react app
Step 1
Open the terminal and execute the following command, this will install sentry-webpack-plugin
Step 2
Paste this snippet into the internals/webpack/webpack.config.prod.js
We are only uploading source-maps on production builds.
Testing your integration and source-maps
Paste this snippet in your app/containers/App/index.js
Commit your code
To test it out locally, run
Once completed you should see the upload report in the logs

This will actually upload the source-maps to sentry from your local machine.
However, this isn't recommended. We should ideally never be uploading anything to sentry from our local machine, but rather delegate to the CD pipeline.
If you already have a CD pipeline setup that then push your code on the release branch
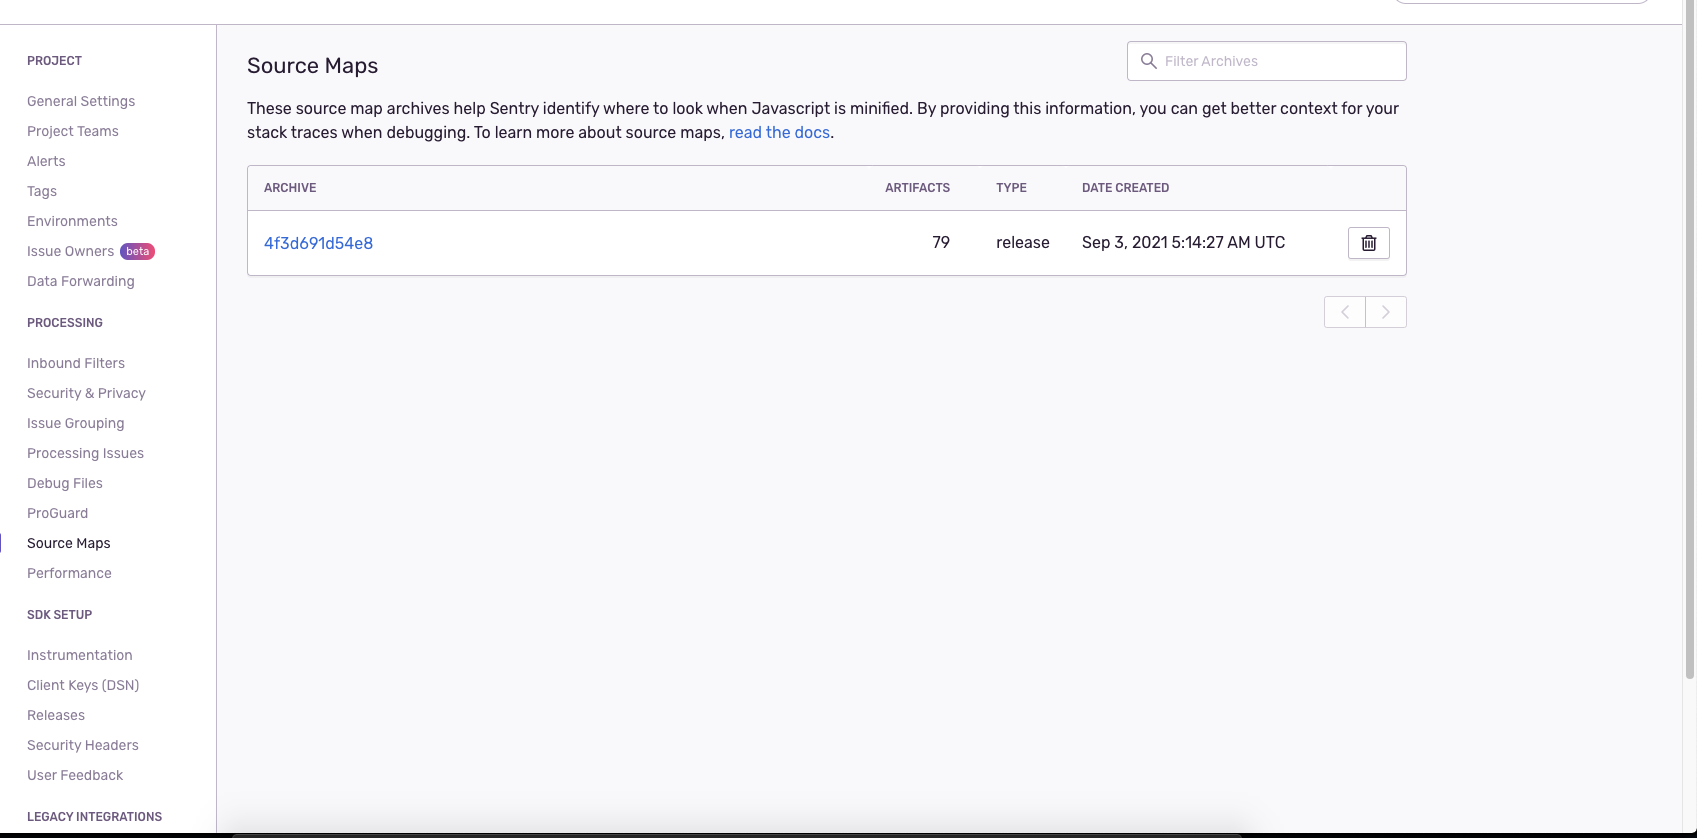
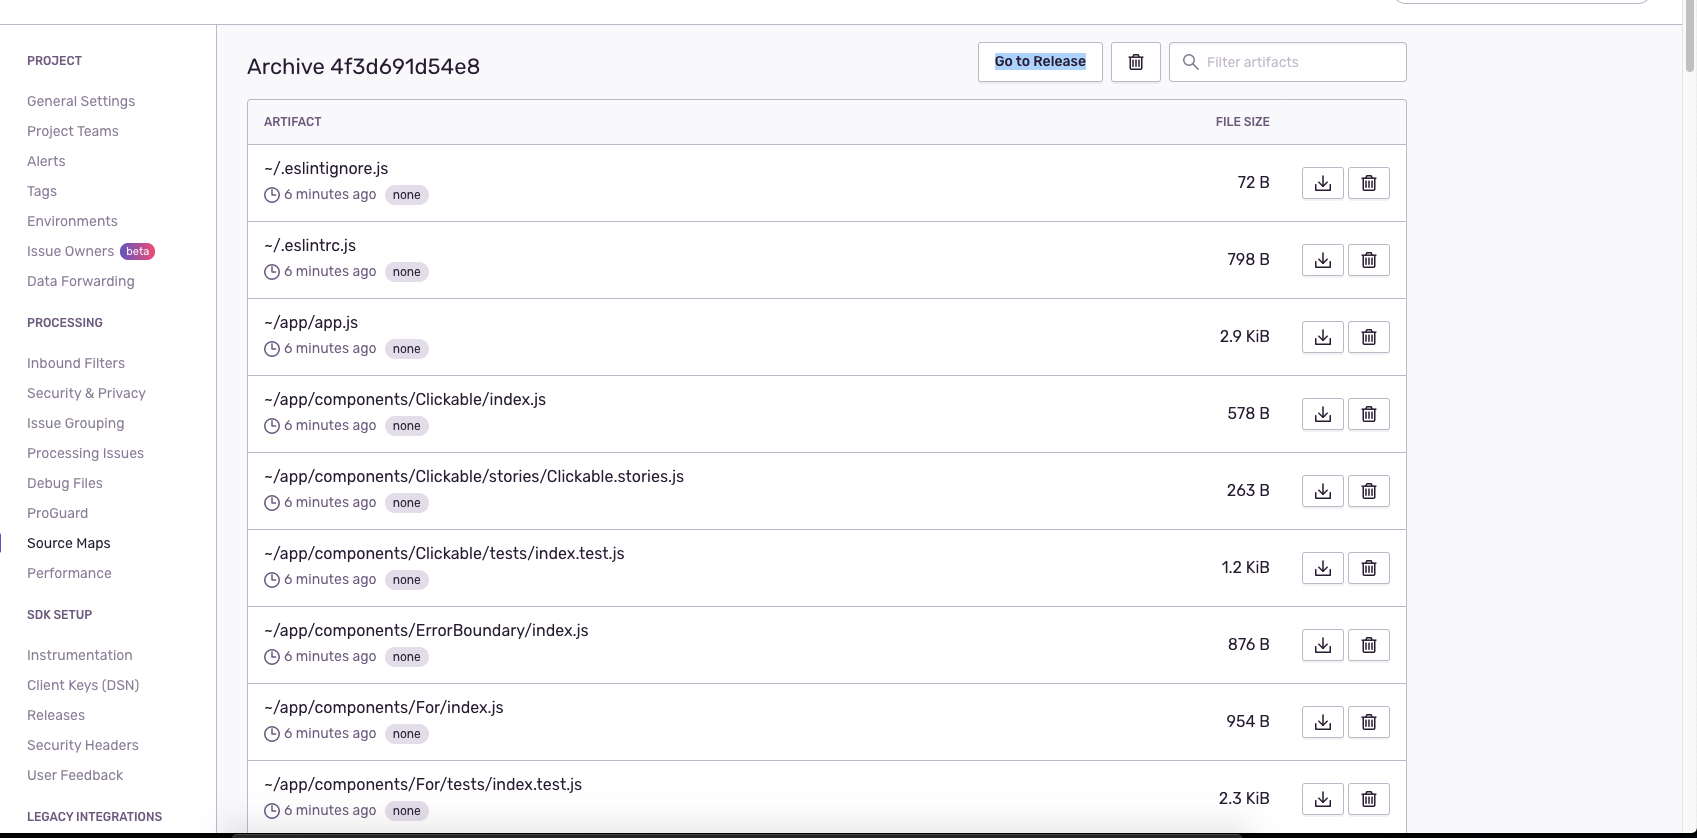
Go to Sentry → Organization Settings → Projects → [your-project-name] → Source Maps
you should see the uploaded source-map release
Navigate to the URL where the website is hosted.
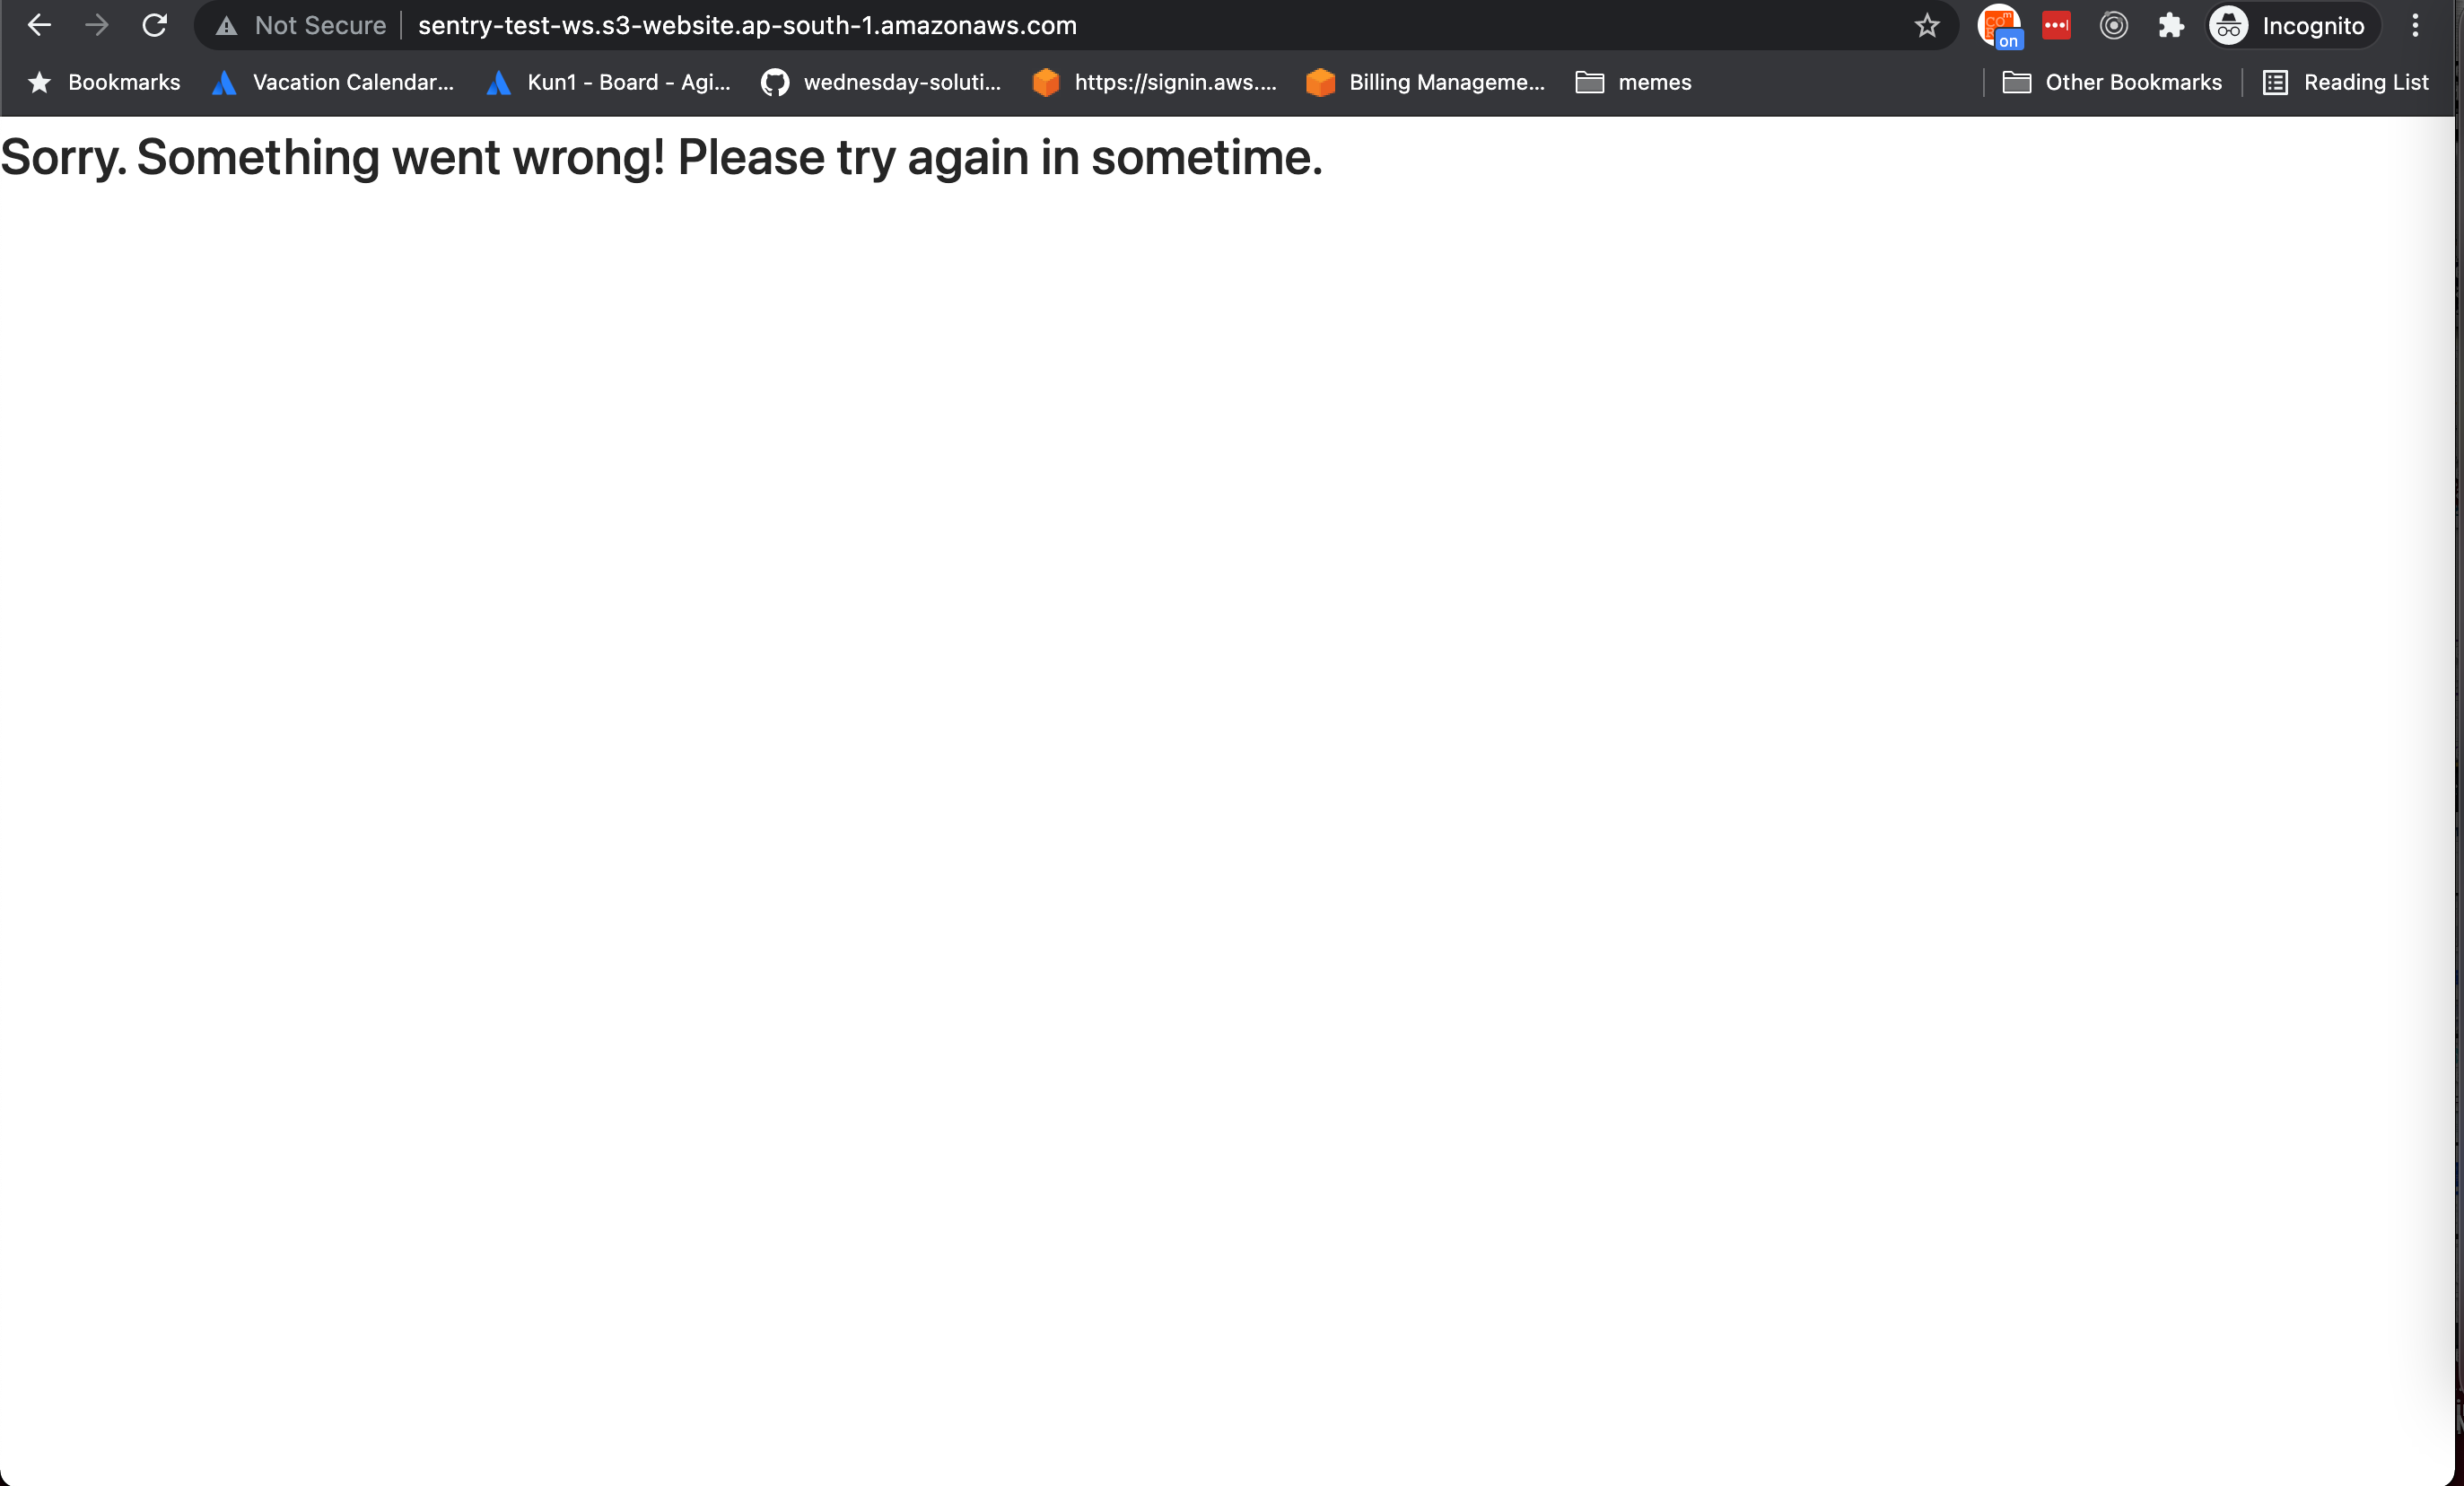
You'll be greeted with a Sorry. Something went wrong! screen. Don't worry; this means your ErrorBoundary has been invoked.
Navigate to the project from the sentry dashboard, and take a look at the issue. We now have support for release mapping
Liked what you read? There's more where that came from! Satisfy your craving for all things digital product strategy on LeadReads. Round out your perspective with exclusive stories straight from C-suite thought leaders.
Join here.
Where to go from here
I recommend going through the Sentry Webpack Plugin documentation if you need a custom config for the plugin. If you run in issues with source-maps check out the troubleshooting guide in sentry docs
I hope you enjoyed reading this series. If you have any questions or comments please feel free to tweet at as here.