Apache Kafka allows for asynchronous communication in a distributed ecosystem. It allows producers to publish messages on topics that are then ingested by consumers interested in those topics. As a concept, pub-sub models have been around for ages. However, the beauty of Kafka is in the how — using partitions and consumer groups, Kafka can scale the rate of consumption of messages with minimal dev and economic overhead. In this tutorial, I’ll take you through how to provision a managed Kafka cluster using the AWS Managed Stream for Kafka (MSK) service. We’ll use the serverless framework to create and maintain the infrastructure for MSK and the supporting VPCs, subnets, etc.
This tutorial assumes a good understanding of Kafka and how to configure it. We will go over deploying & updating an Apache Kafka service (clusters and configuration).
Prerequisites
- Apache Kafka
- Basics of the Serverless framework
- An active AWS account
MSK(Managed Streaming for Kafka)
Amazon provides a managed Apache Kafka service called MSK (Managed Streaming for Kafka). MSK allows you to build scalable production-ready Kafka applications. It abstracts the provisioning of infrastructure for scaling and management of the cluster. The Kafka cluster has an MSK configuration attached to it.
In this tutorial, we will use the serverless framework for the following:
- Creating an MSK Cluster
- Creating an MSK Cluster Configuration
- Attaching a configuration revision to the cluster
- Deploying this to an AWS account and verifying it

1. Starting with a Serverless project
Please clone this starter project. This comes with out of the box support for provisioning a VPC, subnets, IGWs, route tables, etc. I’d highly recommend going through the resources/config directory to get familiar with how things have been set up.
Clone the repository, and install the dependencies using npm.
💡 Pro tip: Subnets for MSK needs to be setup carefully. You need two subnets in two different Availability Zones (AZs), if you are in the US West (N. California) Region. In all other regions, you can specify either two or three subnets. Your subnets must all be in different AZs. When a cluster is created, MSK distributes broker nodes evenly.
For this tutorial, we create three private subnets in the ap-south-1 region, and each subnet has 256 IPs within them. I have also taken special care to ensure that subnets are in different AZs. We also have one public subnet that routes traffic to an Internet Gateway (IGW) that allows the components within the VPC to communicate with the internet.
2. Create the MSK configuration
Let’s start by creating the Kafka configuration. We create a configuration in the server.properties file.
Add the following to the file.
The above represents a minimalistic configuration with the following settings:
- Enables auto-creation of topics on the server
- The max time that the client waits to establish a connection with zookeeper
- The period of time after which Kafka will force the log to roll even if the segment file isn't full
Here is a complete list of properties that can be configured.
Now let’s write the serverless resource for the creation of the cluster configuration.
The ServerProperties key references the newly created server.properties file
That’s it. That’s all you need to create a revision of your configuration. Subsequent changes in the configuration would create a new revision. The updated revision number has to be referenced in the MSK.
3. Create the Kafka cluster
Let’s create the Kafka cluster, which will reference the cluster configuration. Open the serverless.yml file and add the following.
Next, run the following command.
Copy the section below into the file.
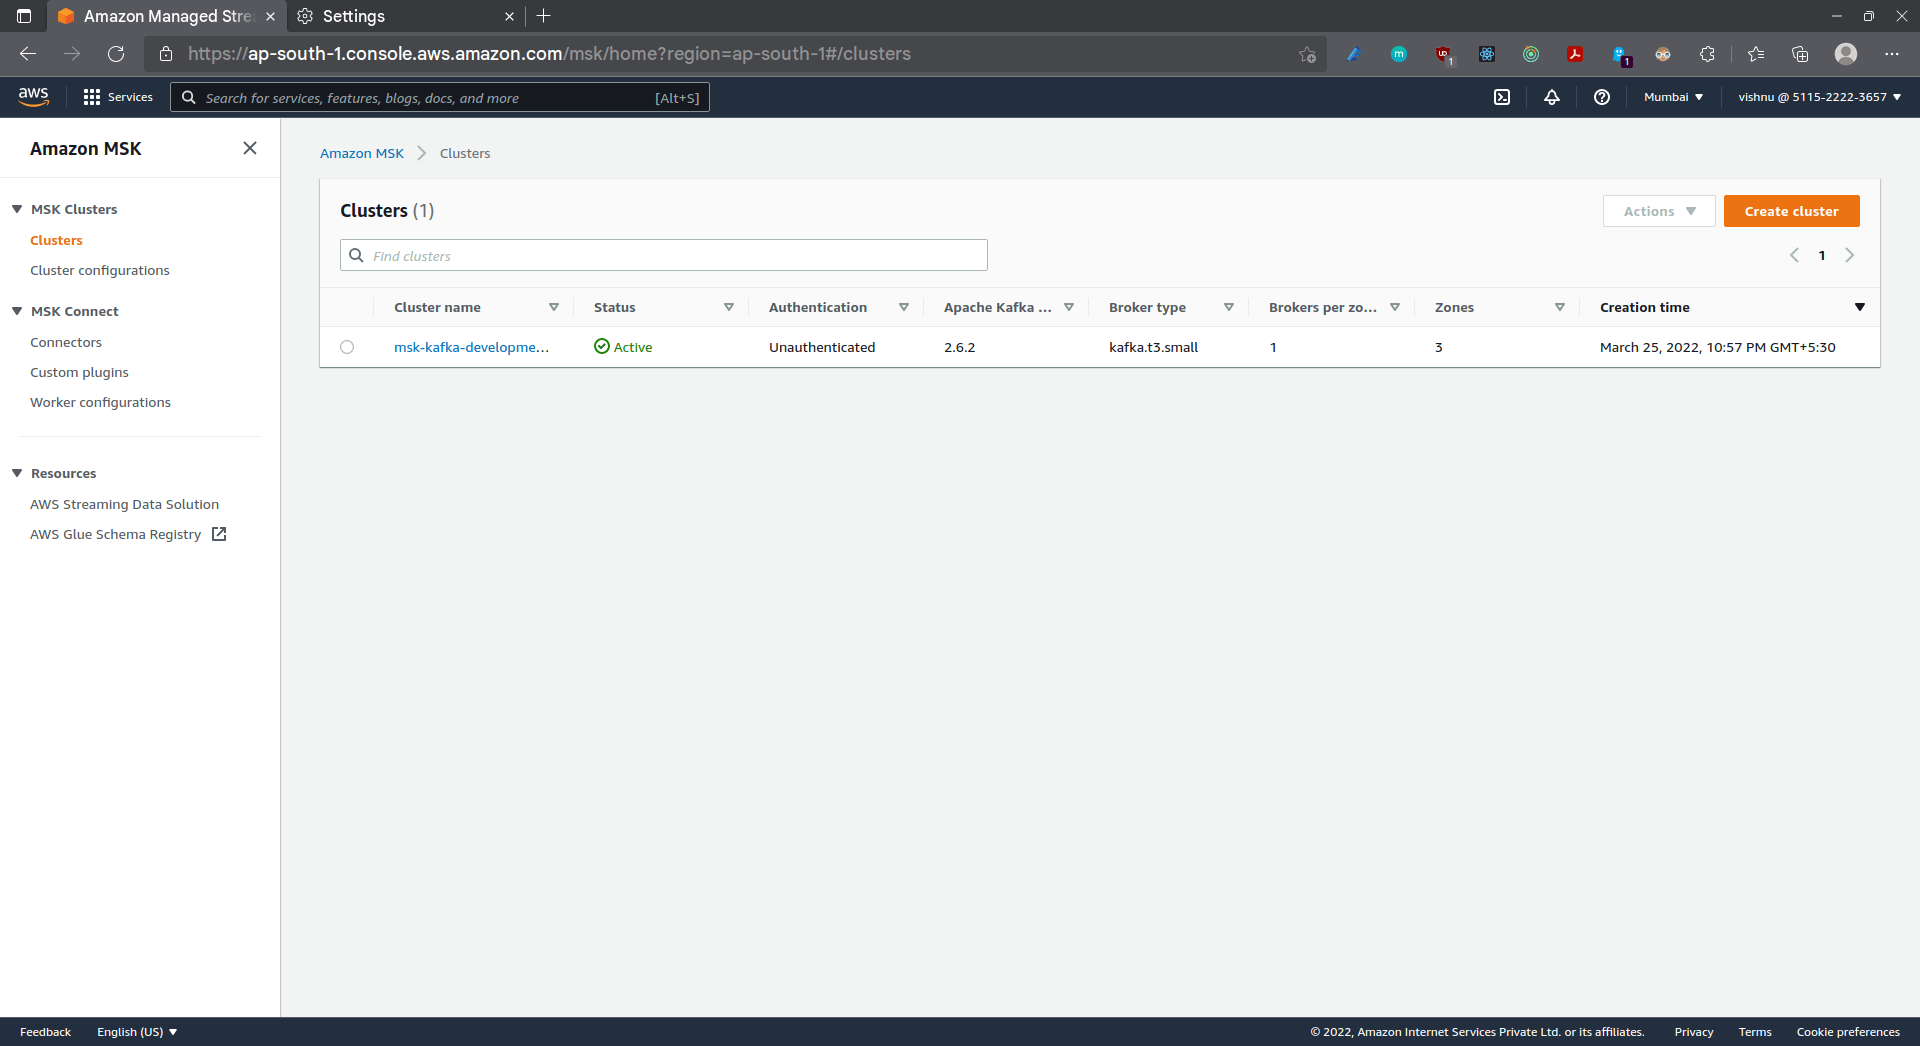
- The cluster name suffixes the stage, allowing for easy deployment across environments
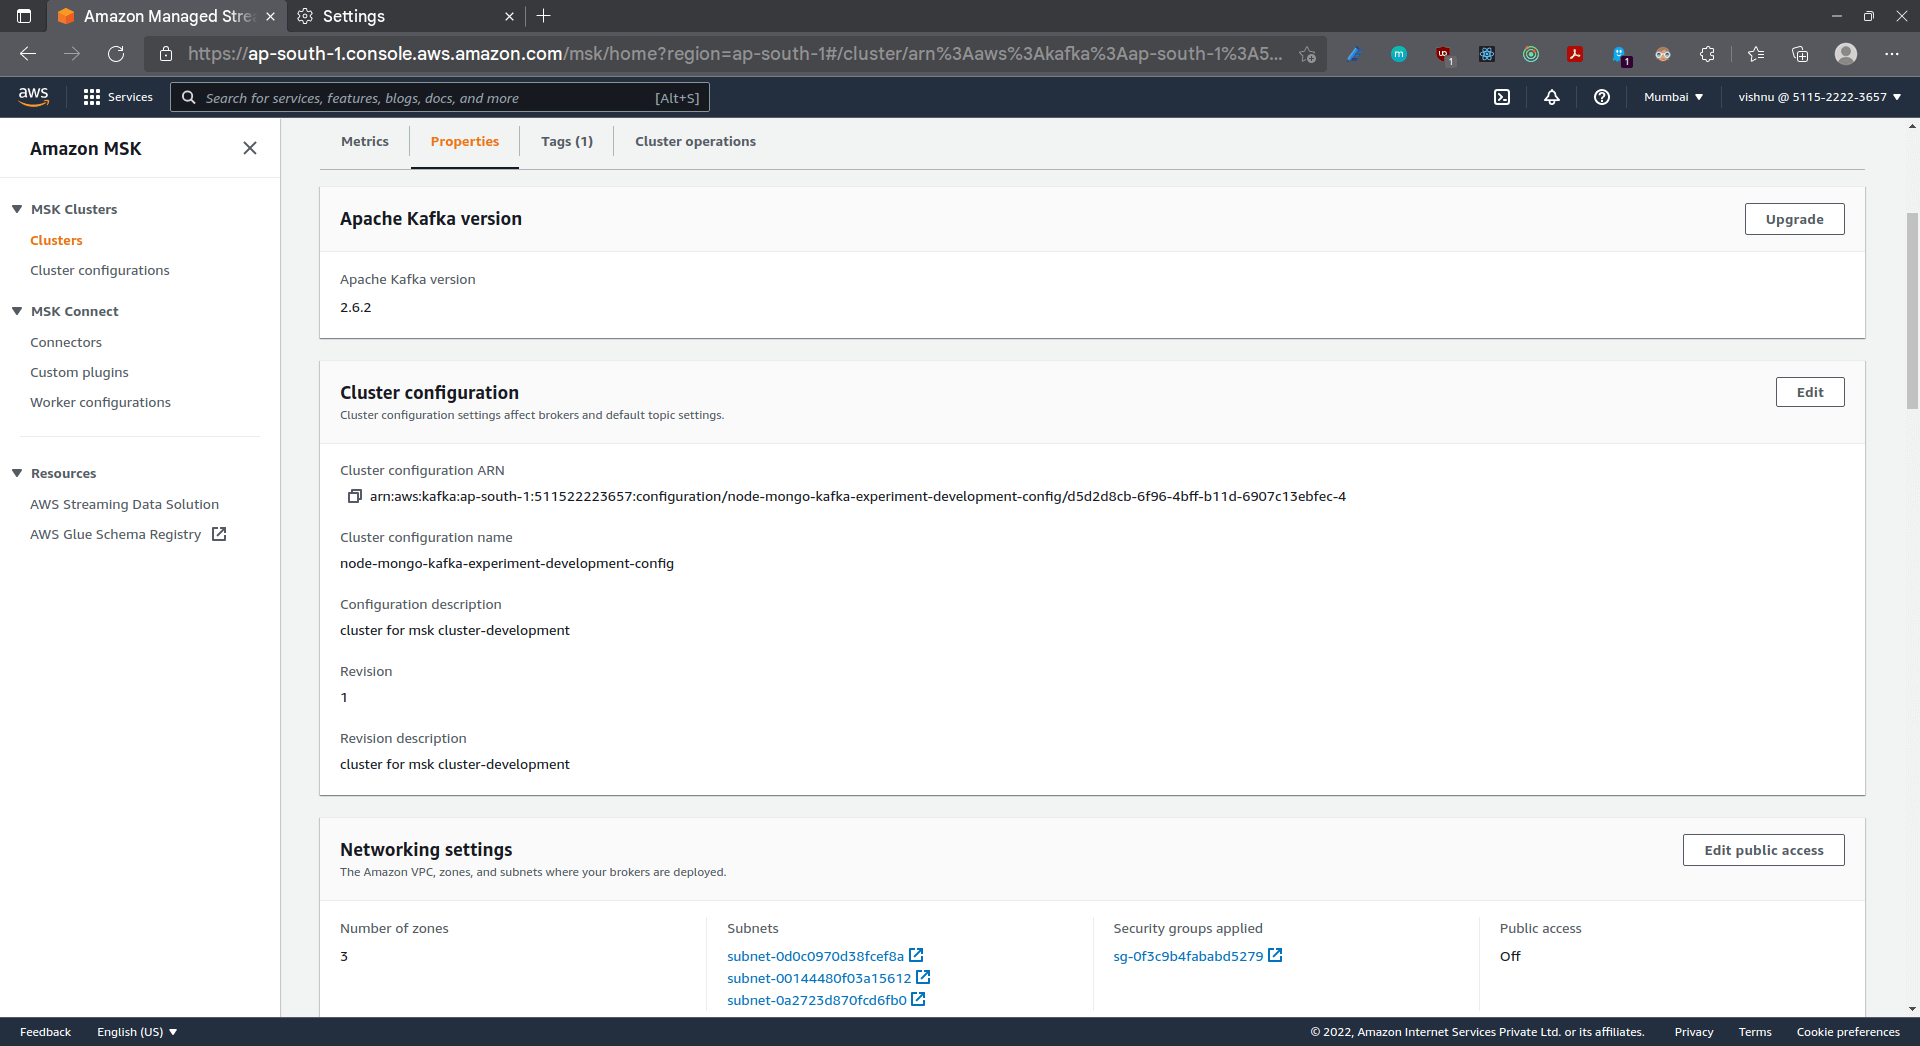
- The Kafka version that we use is 2.6.2
- For the tutorial, we’ve used a kafka.t3.small instance, please configure this to best suit your application needs
- The previously created subnets are associated with the cluster
- The previously created security groups are associated with the cluster
- You can tweak the storage provisioned with this parameter
- The number of broker nodes, which is a critical factor for high availability and redundancy, can be tweaked using the NumberoOfBrokerNodes property
- ConfigurationInfo property governs the default Kafka configuration. We reference the previously created Configuration and the associated revision number
Deployments
Deploy your application by using the following command
Before running the script, please make sure that the following environment variables are set with the correct values
- AWS_ACCESS_KEY_ID
- AWS_SECRET_ACCESS_KEY
Alternatively, you can fork the repo, set the above as Github secrets, push it to your main branch and let the already setup CD pipeline take care of the rest. Once your pipeline runs successfully, check out your newly created cluster in the console!
Enjoyed this tutorial? Don't miss out on exclusive insights and real-life digital product stories at LeadReads. Read by Top C Execs.
Join here
Where to go from here?
If at any point, you feel stuck, a complete example with a working CI/CD can be found here
I hope you enjoyed reading and following through with this tutorial as much as I did when writing it.
The amazing folks at Wednesday Solutions have created a repository of example applications using the serverless framework. I’d love to get your thoughts on it and perhaps stories of how it eased/improved your development workflow.
Alternatively would love to hear your thoughts on where it can be improved. Thanks, and happy coding!