What is AWS Glue
In the realm of Data Engineering, AWS Glue has emerged as a powerful, fully managed ETL (Extract Transform Load) service that makes it easy to prepare and load your data for analytics. But that’s not all. With AWS Glue, you can easily set up crawlers to discover new data and extract associated metadata. Coupling it with an AWS Athena (A serverless interactive query service) like tool that allows you to query and analyze data directly in S3 using standard SQL! And that’s just the start; AWS Glue supports a variety of data sources, enabling you to pull data in from multiple different sources seamlessly. It additionally allows you to choose from a diverse range of data targets and write to one or more of them with ease. That’s not all; AWS Glue additionally comes with the AWS Glue Data Quality service that not only monitors but also suggests remedies for DQ (data quality) issues. AWS Glue has got you covered for your entire data engineering lifecycle.
💡 Have an AWS Glue use-case but aren’t sure? Schedule a limited-time free consultation and get your ideas ratified!
AWS Glue comes with a bunch of options to create a new job, and you can choose to go the visual route. It's basically drag and drop, and you can make a few simple transformations. There's also an advanced section where you can write custom transformations and add them via the visual editor. However, from past experience, if you're trying to do something serious, this is a no-go. It's super messy. Sharing transformations across scripts is problematic, and it's very hard to maintain conventions.

Custom code allows you to tailor your ETL jobs to your specific needs. It provides much more flexibility than the visual editor. It enables you to handle complex transformations and unique use cases, making your ETL jobs more efficient and effective. Additionally, it allows for testing your transformations much more effectively. This allows you to handle a variety of edge cases that come along as you pull vast and varied data in a much more robust manner. Having a robust CI pipeline is often overlooked but is a must for any data engineering project
💡Get your own robust CI pipeline to test all of your transformations and ensure stability across releases by writing to work@wednesday.is now!
Alright, if you're still reading, it means you're sold on the idea of Glue and using custom code. Here’s what you’ll need to know in order to follow along:
- Basic understanding of YAML
- Basic understanding of the AWS CLI
- Basic understanding of GitHub Actions
Don’t worry. The reason I mention Basic is because I do all of the heavy lifting. All you need is to be familiar with these concepts, and you'll follow along just fine.
Step 1: Create an AWS Glue job
Checkout the repository here:
It includes 2 notebooks that will reuse code from the library you build.
Take a look at:
💡Before you start, make sure you have an appropriate AWS profile set.
Now, use the following command to create all the following AWS resources:
- an S3 bucket
- 2 Glue jobs
- source crawler
- target crawler
- roles and policies
Now, head over to AWS, and you’ll see your job getting created.


Awesome job getting so far! Run git diff to see changes in the following files, based on the project name that you passed.
- assets/output.yml
- config/properties.yml
- src/jobs/job1/.env
- src/jobs/job2/.env
These changes enable the CD pipeline to update the cloudformation stack. More on this later. For now, run the command below to get your Jupyter Notebook running locally.
💡Make sure Docker is running!
Now head over to your browser on http://localhost:8888/lab/tree/src/jobs/job1/notebook.ipynb to interact with your notebook.

No wasted $$$ for feature development. Now, build complete Glue integrated ETL pipelines with a robust dev set up in your local machine!
Step 2: Understanding the CD pipeline for your script
We’re using Github Actions here. Workflow files are in the .github/workflows folder.
Take a look at the continuous deployment file and go through each of the steps in detail.
Step 1: Action to checkout the current repository.
Step 2: Set up python.
Step 3: Install nbconvert to convert notebooks into Python scripts.
Step 4: Recursively look for notebooks in the src/jobs directory and convert them to script.py files.
Step 5: Recursively convert all of the environment variables of a job to parameters in the Glue Job.
Step 6: Read the bucket_name property from the config/properties.yml file. This value is auto-updated to your bucket name when you run the make infra command.
Step 7: Read the bucket_name property from the config/properties.yml file. This value is auto-updated to your bucket name when you run the make infra command.
Step 8: Read the stack_name property from the config/properties.yml file. This value is auto-updated to your bucket name when you run the make infra command.
Step 9: Push the script files that were generated from the notebooks to S3. The “ScriptLocation” in the Glue Job references this S3 location.
Step 10: Push data files to S3. These files will then be crawled by the source crawler.
Step 11: Configure AWS Credentials in GitHub so that we can update the job details in the CD script.
Step 12: Update the Glue jobs only if there is a change. We check for changes here.
💡 Before using the CD pipeline, make sure you have setup secrets with AWS credentials
- AWS_ACCESS_KEY_ID
- AWS_SECRET_ACCESS_KEY
Alright, now create a PR with your changes to your GitHub repo. If you’ve got the same release branch as me (i.e main), then merging to main will result in your changes being reflected in AWS in a couple of minutes.

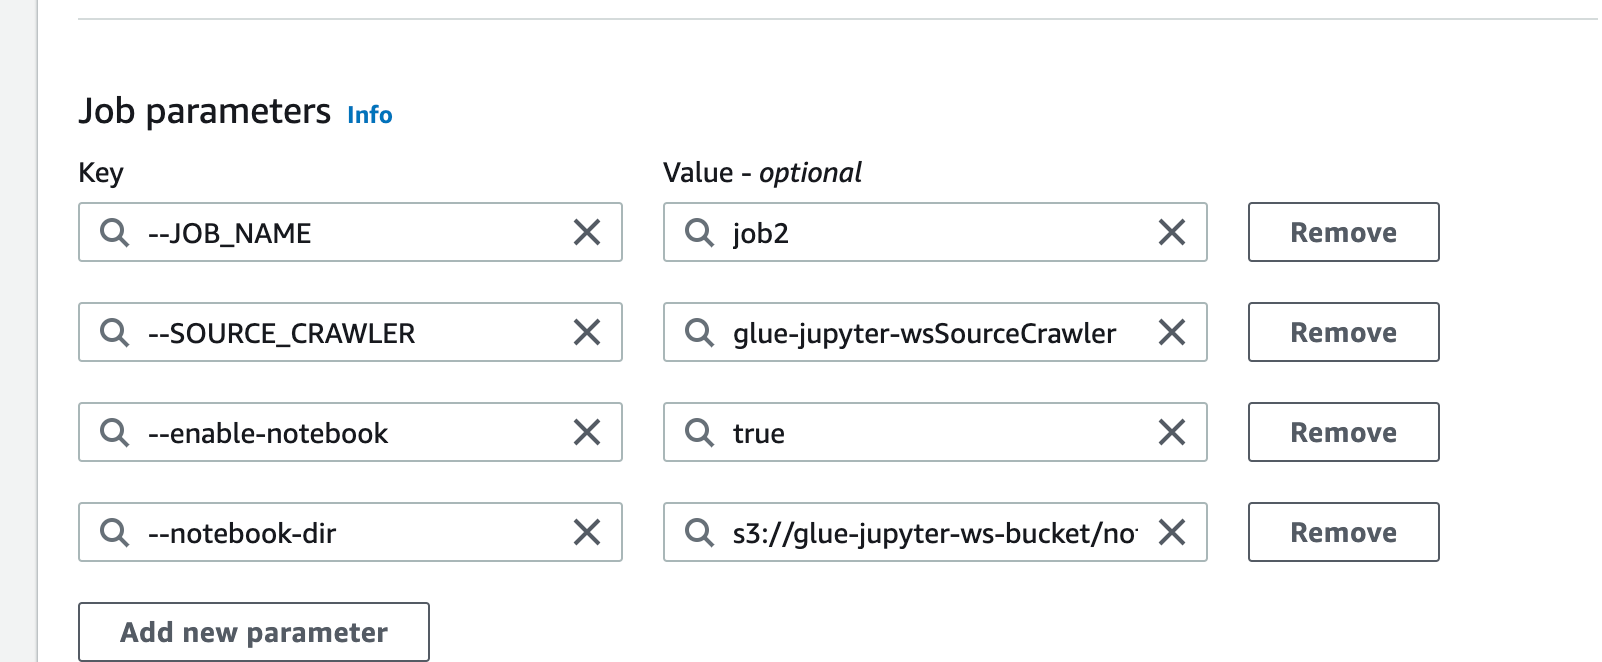
Head over to Glue and take a look at the job details. Those were automatically updated via our scripts from the .env for each job.
Now, let’s head to the promised land, create a common library, and achieve DRY compliance in your Glue scripts.
Step 3: Create your own Python library
Let me simplify this for you. Just follow these simple steps and you’re good to go:
1. Create setup.py: Take a look at this gist and copy the contents into your own setup.py file.
2. Create an env utils file and copy the contents of this gist.
3. Create a file that will contain the script to build your library.
4. Add the contents of this gist to the newly created file and run it like this.
A successful execution will result in the creation of the following folders:
- build
- dist
- utilities.egg-info
Additionally, you’ll notice that the assets/output.yaml has been updated so that each of the Glue jobs has the DefaultArguments.—additional-python-modules property updated with a path to an S3 file. We’ll automate the CD script to build and copy the library to that S3 location later.
For now, we’re only interested in the contents of the dist/ folder. Set up your newly created library for use in your container by appending the below lines at the end of your Dockerfile.
5. Now that your library is all set up, make changes in your notebook to import the load_env and the get_env_or_args as follows:
Remove the cells that define these two functions and sit back and watch in amazement when you’re still able to run your notebook without defining load_env & get_env_or_args.
Enjoying this tutorial? Don't miss out on more exclusive insights and real-life digital product stories at LeadReads. Read by Top C Execs.
Join here
Step 4: Build your new library in the CD pipeline and auto-deploy changes
This is broken down into two steps.
- Automatically build the library and upload it to S3
- Update the additional-python-libraries attribute of the Glue job to point to the file in S3
Add these additional steps to your CD pipeline. And your new CD pipeline should look like this.
Step 5: Run this on AWS
With your new changes, create a pull request on GitHub, or if you're feeling special, push it to the main directly 🚀
Once your changes are reflected on AWS, hit run, either via the notebook or run your script from the actions drop-down.
Sit back and watch while your transformations are performed with the help of your new, swanky, robust, and reusable custom library!
Looking back, in this tutorial, you’ve:
- Set up AWS Glue powered Jupyter Notebooks locally, saving hard-earned dollars!
- Set up continuous deployment for your Glue jobs.
- Created your own Python library and reused code from your Python library across multiple Glue scripts/jobs.
- Automated deployments and upgrades to your library with continuous deployment.
💡Here’s a link to the completed code on GitHub. Additionally, you can take a look at the complete diff between the start of the tutorial and the end right here
You’ve come a long way. This is a state-of-the-art set up for your data engineering pipeline. But as the age-old quote goes - 'You haven’t come this far, to only come this far'.
So stay tuned because, in the next part, we’ll be talking about how to set up an e2e pipeline, alerting, monitoring, and DQ control for AWS Glue. Stay tuned and until next time, Happy Coding!