Amazon Aurora Serverless enables you to run your database in the cloud without managing any database capacity. It automatically starts up, scales capacity up or down based on your application’s needs. However, Aurora Serverless does not have a public endpoint. There is no way to make the cluster public.
Hence, running migrations for Aurora Serverless is challenging since we can’t directly access it over the internet. It can only be accessed by
- using a VPN into your VPC;
- running your migration script in a VPC;
- launching an EC2 instance and installing the DB client to work with the database; or
- use the Aurora Web Data API
The above options involve a lot of additional work for a seemingly solved problem or incur additional cost. For example, provisioning an EC2 instance just to run database migrations for your “serverless” app seems like an anti-pattern and an unnecessary expense.
AWS Lambdas, through some trickery, however, can access the Serverless cluster. Why not delegate the execution of the migrations to a Lambda? This is a cost-effective approach since you’ll only pay for computing when it’s invoked - in the true Serverless spirit.
In this tutorial, we’ll set up and run database migrations for a ToDo application against a PostgreSQL Aurora Serverless Cluster.
This tutorial assumes that you are familiar with the following tools or frameworks
Starter Project
Please clone the starter project present here. This project contains the setup to create a PostgreSQL Aurora serverless cluster using the serverless-framework.
In this tutorial, we will add support to run database migrations on successful deployments.
Getting started
This tutorial is broken down into the following parts
- Creating migration resources
- Writing utility functions to run migrations
- Creating a migration file
- Writing a lambda for database migrations
- Registering the Lambda using serverless
- Writing and registering a post-deployment script
- Updating the webpack config
Creating migration resources
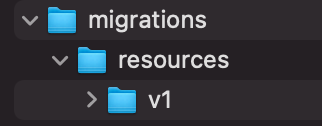
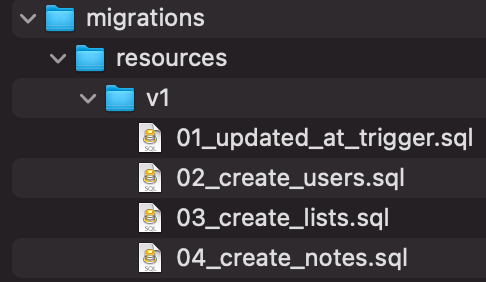
Migrations require versioning. I prefer a database-first migration approach. This involves creating a version folder and adding all the .sql files related to the migration in that folder.
Step 1
Create the folder for the first migration
Step 2
Create a trigger to update the value of the updated_at column whenever an entry in the database is updated.
Create a new file 01_updated_at_trigger.sql
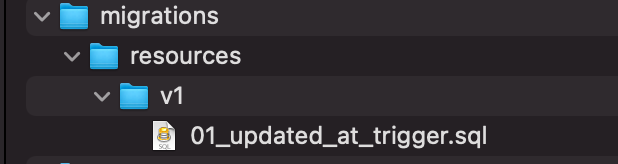
Copy the snippet below into the newly created file
Step 3
Create a users table to store the users.
Create a new file 02_create_users.sql
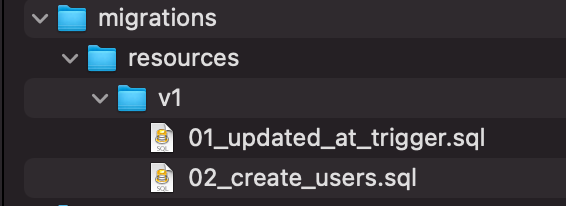
Copy the snippet below into the newly created file
Step 4
Create a lists table to store the lists.
Create a new file 03_create_lists.sql
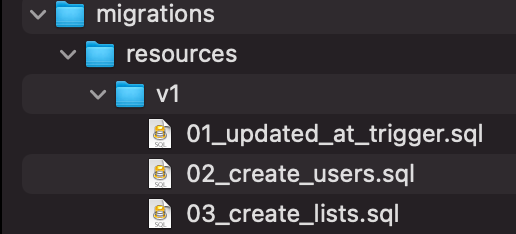
Copy the snippet below into the newly created file
Step 5
Create a notes table to store the todos.
Create a new file 04_create_notes.sql
Copy the snippet below into the newly created file
Commit all the code you’ve written so far.
Writing utility functions to run migrations
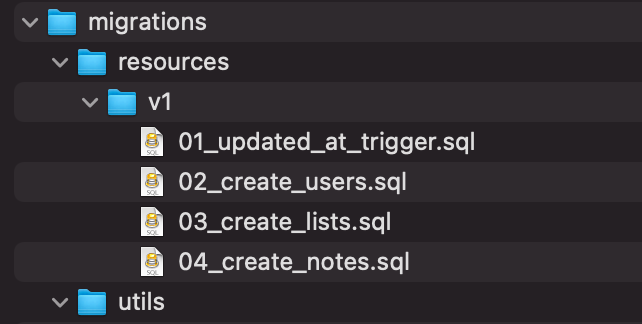
We will use the sequelize framework to handle migrations but it doesn’t come with out-of-the-box support for database-first migrations. To support this, we will write a few utility functions.
Create a new folder for migrations utils using the code below
Create a new file

Copy the snippet below into the newly created file
- Based on the position of the current filename in the migrations folder, we will get the version number that we need to target.
- After getting the version number, we will execute all the .sql files present in the migration/resources/v${versionNumber} directory.
Again commit all the code you wrote using the following git commands
Quick interruption: Discover why top C-level execs are subscribing to LeadReads. Dive into the world of digital products – you'll be glad you did!
Join here.
Creating a migration file
Sequelize stores the name of the migration file in the SequelizeMeta table to remember which migrations it ran. So don’t rename the files once you’ve run the migrations.
Run the following command to create a new migration file
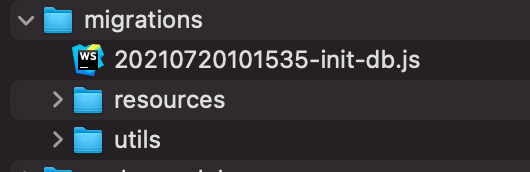
The numbers represent the current date. This makes sure that the migrations are run in order of creation. Hence the file name will be different from the one that you generate. Copy the snippet below into the newly created file in the migrations folder
Commit your code using the following git commands
Writing a lambda to handle database migrations
If the aurora serverless cluster is inaccessible via the internet then how can the Lambda access it?
- Deploy the AWS Lambda in the same VPC as your database
2. Create a Nat Gateway in a public subnet
3. Create an Internet Gateway and a route pointing to it
For details on its working please take a look at this article: https://aws.amazon.com/premiumsupport/knowledge-center/internet-access-lambda-function
Let’s start writing our Lambda function!
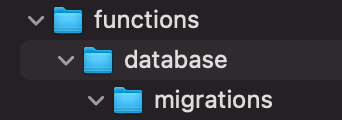
We should create a folder for each of our lambdas. I like to categorize functions by the operation they perform.
Step 1: Create the following folder structure.
Step 1
Create a new project in that directory
A package.json file will be created.

Step 2
Create the index.js file
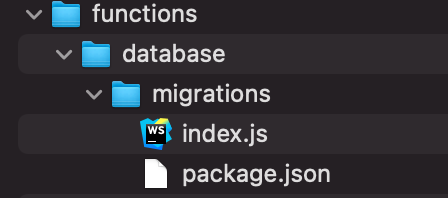
Copy the snippet below in the newly created file
- Registering the source map makes it easier to debug the application in production.
- The shelljs library allows us to run shell commands from nodejs. You can read more about it here.
- Invokes the sequelize cli to run the database migrations.
Commit your code using the following git commands
Registering Lambdas with the serverless-framework
You need to register the AWS Lambdas with the serverless framework.
Step 1
Create a folder for lambdas in the resources folder.

Step 2
Create a functions.yml

Step 3
Copy the following snippet in the newly created file
- Name of the Lambda
- Path to the handler
- IAM Role of the Lambda
Step 4
You need to register the functions in the serverless.yml.
Paste the following snippet above the custom section in the serverless.yml
Commit your code using the following git commands
Writing and registering a post-deployment script
The database migrations need to be run after a successful deployment.
Step 1
Create the post-deployment.js file
Step 2
Copy the following code into the newly created file
On successful deployment, we will invoke the databaseMigrations Lambda function.
Step 3
We need to tell the serverless framework to run the post-deployment.js file after a successful deployment. Paste the following code snippet in the scripts section
Commit your code using the following git commands
Updating the webpack config
To be able to run the migrations from the Lambda should have the following dependencies forcefully included
- sequelize-cli
- sequelize
- pg
Copy-paste the snippet below in the serverless.yml custom.webpack section to facilitate this
Commit your code using the following git commands
Viola, you’re done!
The starter project already includes a Continuous Deployment workflow. You will need to add the Github secrets and push them to the master branch.

Now sit back and watch the magic unfurl!

Where to go from here
A managed relational database service that scales up and down on-demand allows you to focus solely on writing the business logic for your application. Using Aurora Serverless is a move in the right direction.
To see how you can resolve mutations directly off-of the database in your AWS AppSync application that uses Aurora Serverless as a data source please take a look at this repository.
I hope you enjoyed reading this tutorial on running migrations for an aurora serverless cluster. If you have any questions or comments, please join the conversation on twitter.